
Start with what you need
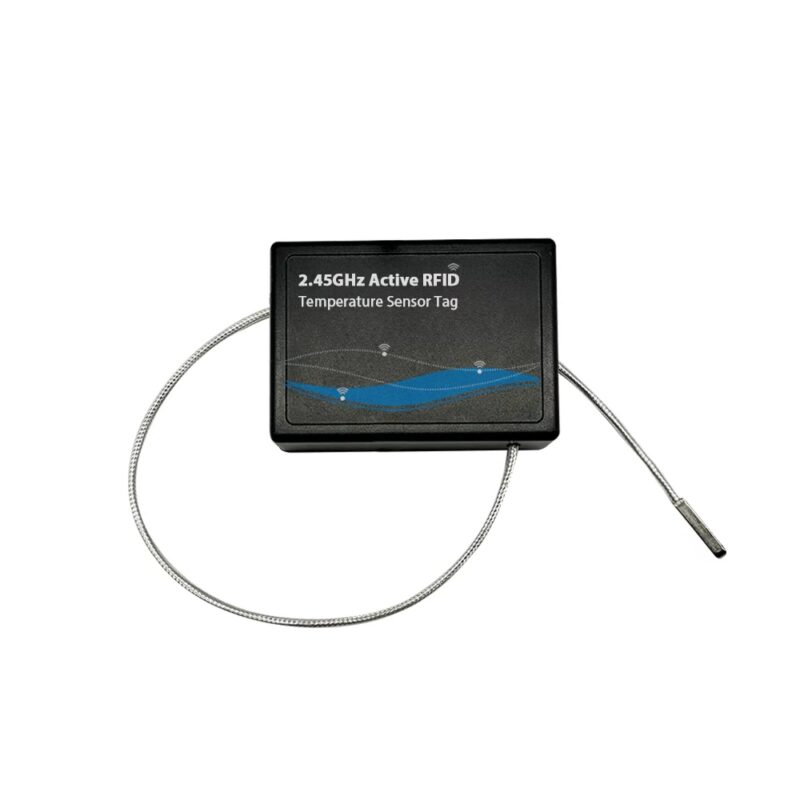
You want a tag that reports real temperature, not just numbers. Start by matching the tag to your use case: cold chain, warehouse racks, or on-body sensor. Test one or two samples first. Put an active rfid tags on the real object and run a quick walk-through. See how it behaves when moved, left in a fridge, or exposed to heat. Simple check, fast insight.
Critical specs to verify
Look at raw, measurable specs. Temperature accuracy and resolution. Sampling rate and timestamp precision. Battery capacity and real operating hours. RF range and link stability. Physical rating: IP, vibration, and shock tolerance. Firmware upgrade path and security (signed firmware, encrypted telemetry). If the datasheet says ±0.5°C, verify that with a calibrated reference. Numbers matter; confirm them.
Practical tests you can run
Run tests that mirror your workflow. Place the tag and a calibrated reference probe together inside a temperature chamber or a reliable lab-grade cooler. Log both for 24–72 hours. Walk the tag around the facility to reproduce movement and interference. Record packet loss, latency, and timestamp drift. Cycle power until battery falls below operational threshold. Repeat with different orientations and distances from readers. Compare logged values, then compute mean error and drift per day. That gives you usable reliability numbers.
Common mistakes to avoid
Don’t trust single-point lab results. Don’t judge lifetime by idle hours only. Don’t assume RF range in open air equals range near metal racks. Don’t ignore calibration drift after six months. Many teams skip firmware resilience testing; that’s risky. Also watch antenna placement—small rotation can drop RSSI dramatically. Test like you will operate, not like the data sheet was written.
Alternatives and trade-offs
If you need longer range and fewer uploads, consider UHF passive or semi-active solutions. Need low-power continuous monitoring near smartphones? BLE sensors may fit. Want better coexistence in dense environments? 2.4 GHz offers bandwidth but can suffer in crowded Wi‑Fi sites. Each choice trades battery life, latency, and infrastructure complexity. Pick the one whose compromise matches your priorities.
EEAT and a field example
I’ve run deployment tests for logistics clients and calibrated sensors against lab thermometers. Professionals at large ports have published pilot outcomes that show frequency choice affects packet loss during container shuffles; Port of Rotterdam trials highlighted that movement and metal structures change connectivity patterns for tags, especially when using a 2.4ghz active tag. Use those findings to design tests: simulate container movement and check for missed records. That practical alignment of lab methods with field trials is what proves reliability.
Acceptance criteria you should write down
Define pass/fail metrics before testing. Example: mean temperature error ≤0.5°C over 72 hours; packet success rate ≥98% at 10 m with two obstructions; battery life ≥ specified hours under your sampling rate; firmware recoverable after interrupted update. If a tag fails one critical criterion, treat it as a reject until vendor fixes it. Concrete thresholds prevent wishful thinking.
Wrap-up and how to decide
Test like you operate. Verify specs, run real-world cycles, avoid common pitfalls, and compare alternatives by tradeoffs that matter to you. When a tag meets your written acceptance criteria and survives field-style tests, that’s trustworthy hardware. For sourcing and consistent supply of reliable products, consider vendors with documented field results and engineering support like RSTC.