
Why this matters to you
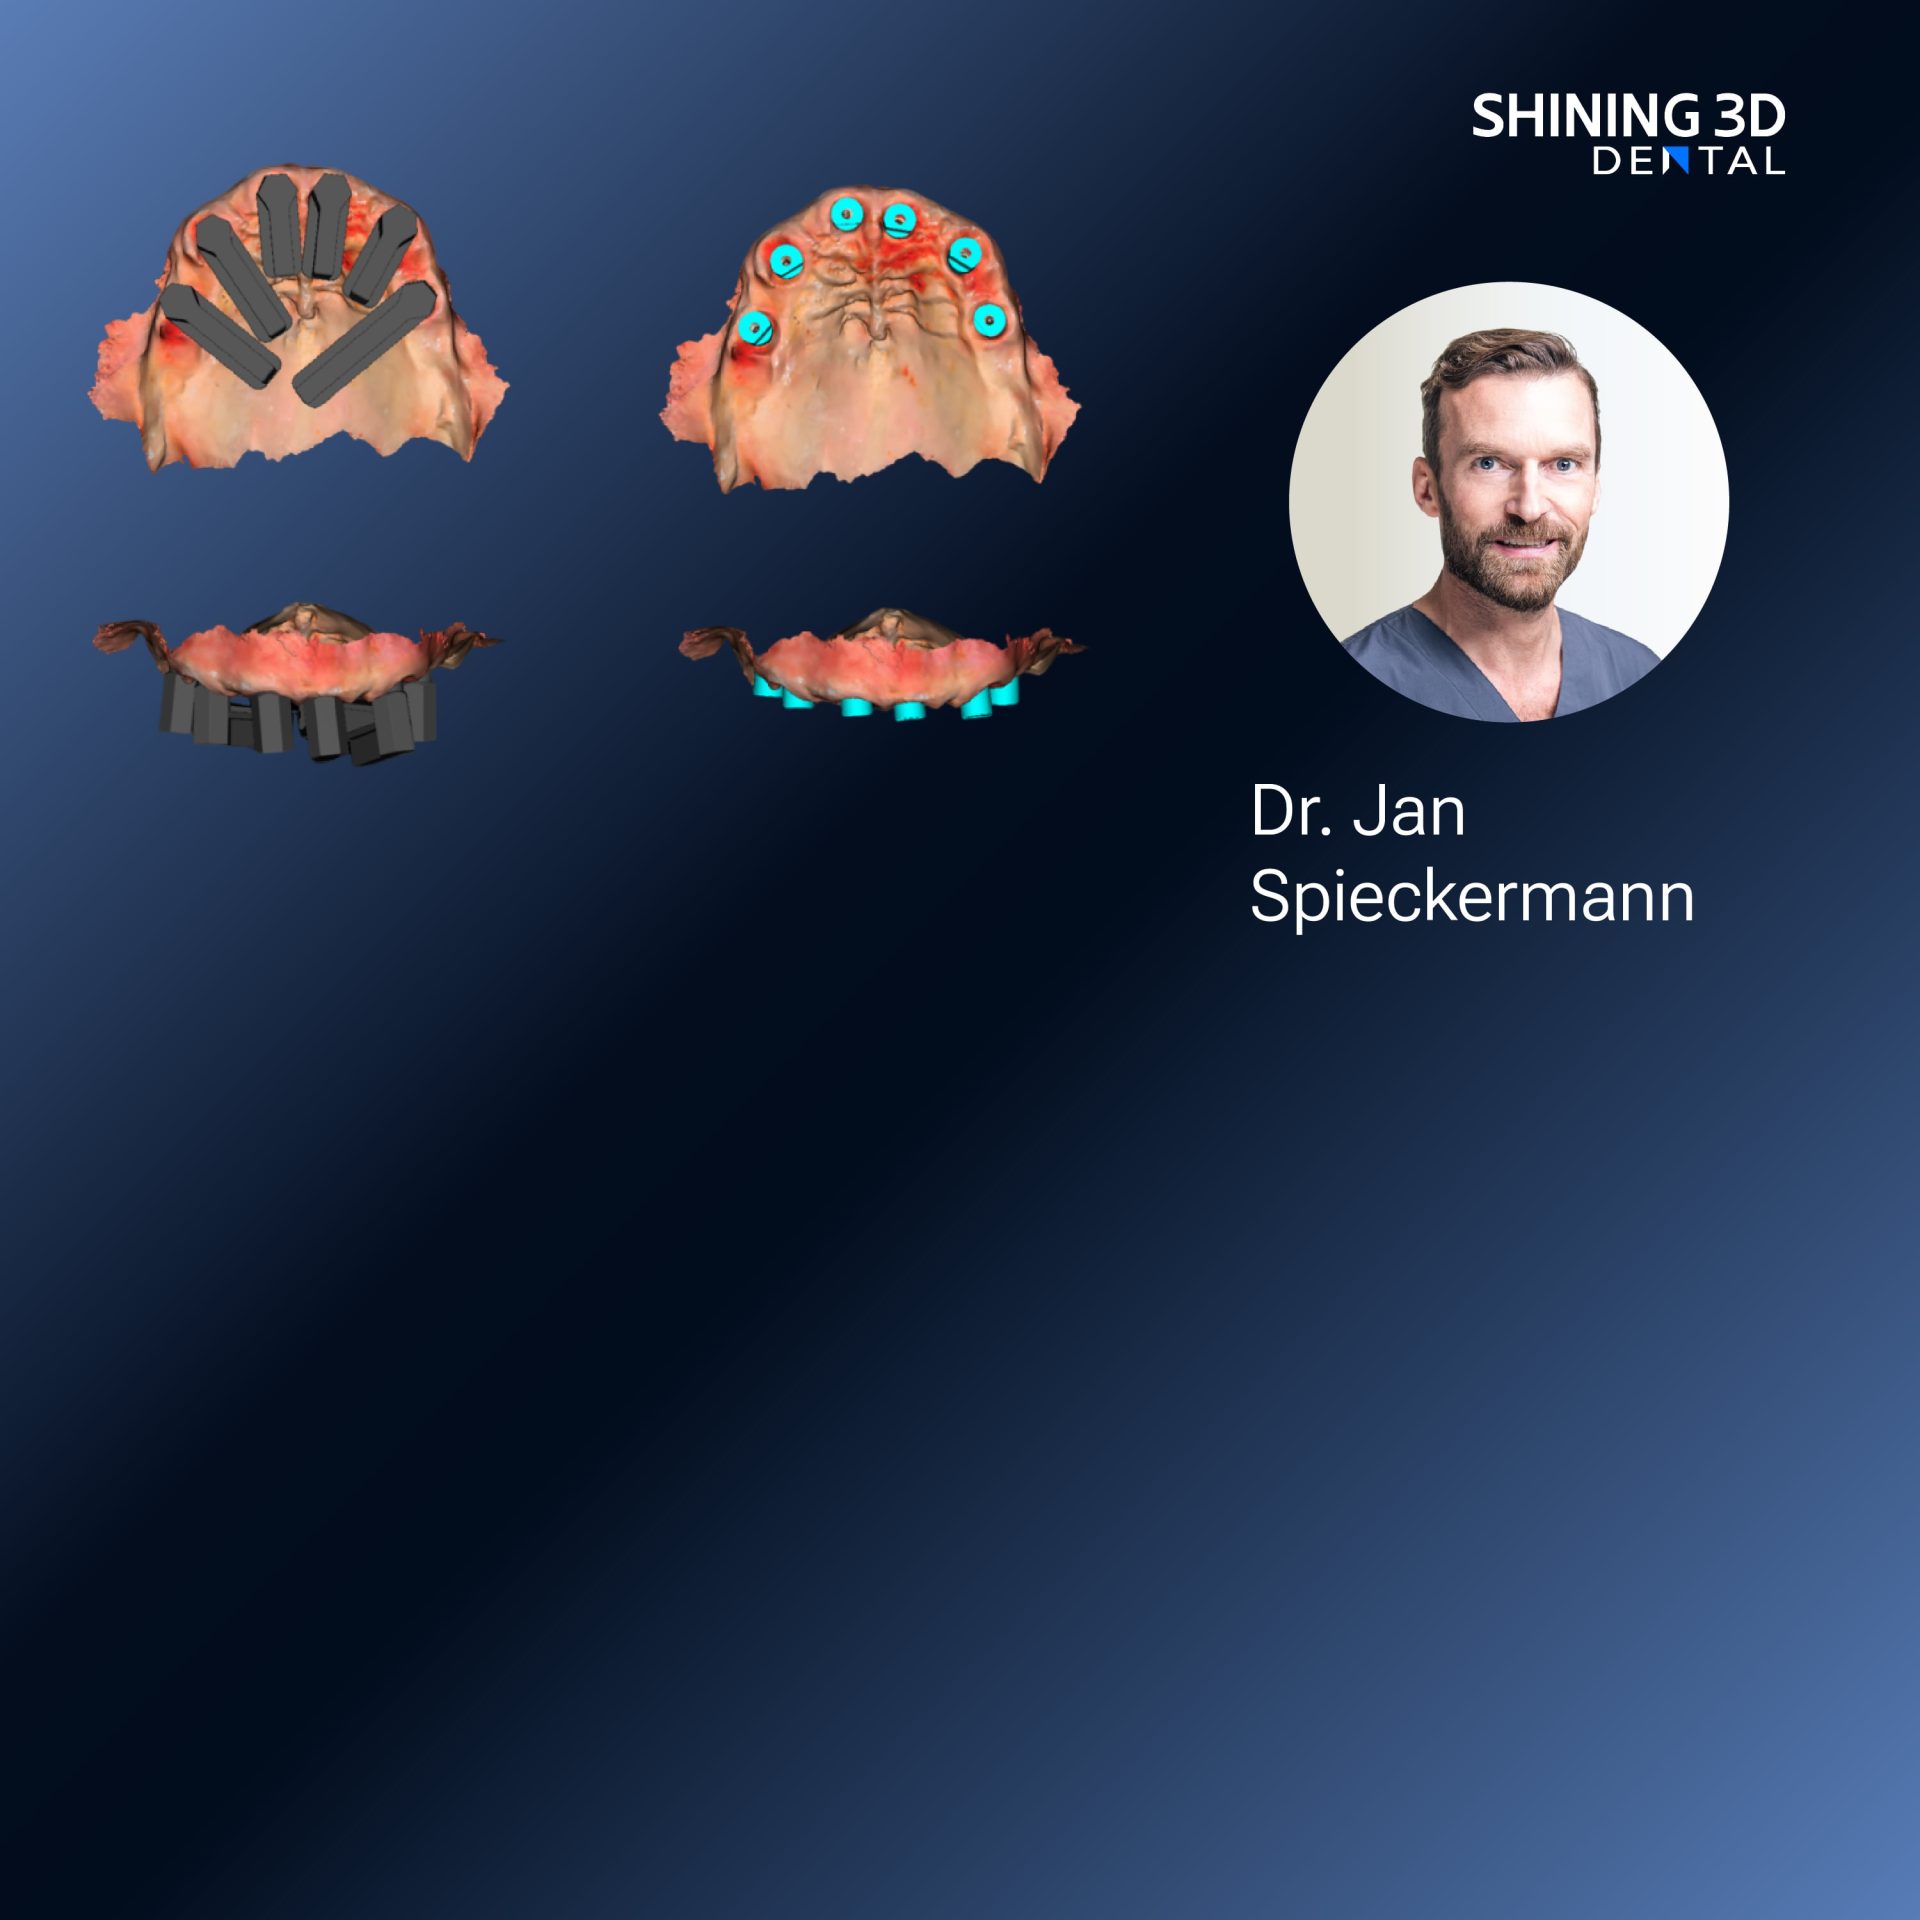
You want prosthetics and implants that feel natural, fit first time, and cut chair time—so start with how patients actually move. A smooth workflow that captures jaw motion and exact implant positions reduces adjustments and remake risk, and many clinics now pair dynamic occlusion checks with a dedicated Photogrammetry 3D scanner to capture implant geometry precisely. I speak from hands-on work with restorative dentists and lab technicians: when the data are right, the end result is predictable and calmer for everyone.
How photogrammetry and jaw motion mapping serve the patient
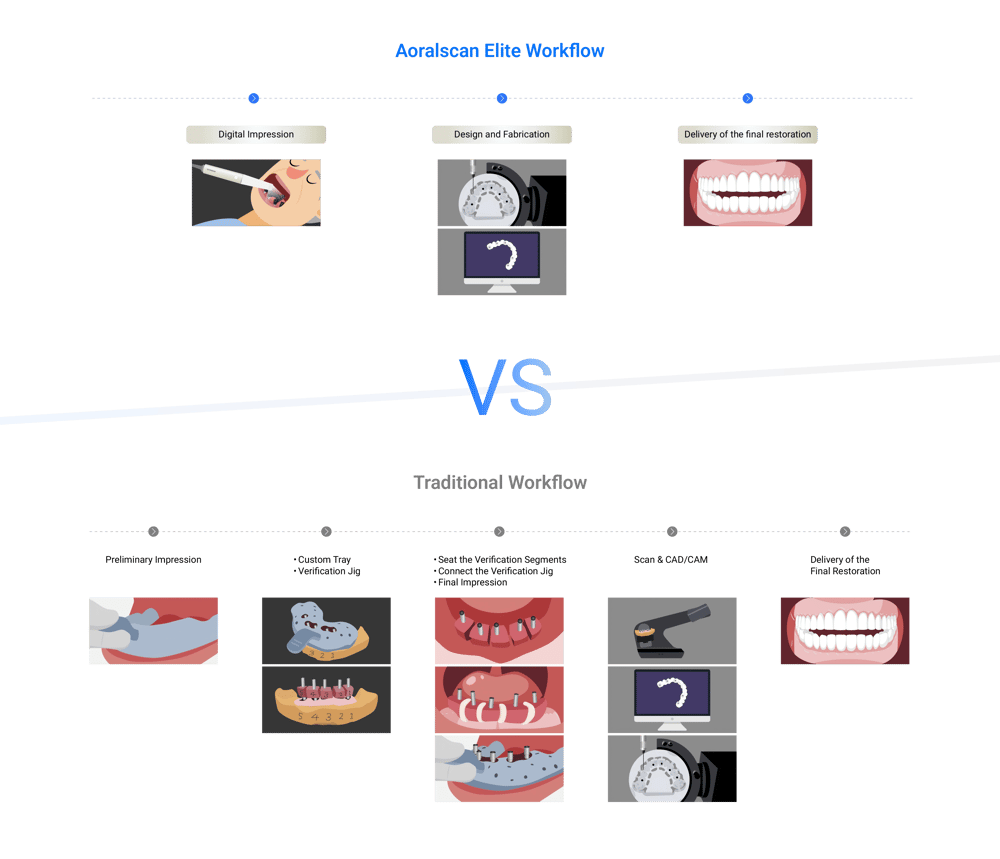
Photogrammetry gives you precise spatial coordinates of multiple implants at once; jaw motion mapping records functional contacts and excursions. Put those datasets together and you design prostheses around real movement, not static guesses. Practically, that means fewer occlusal corrections, improved immediate loading decisions, and less postoperative soreness. Keep the patient’s comfort central: brief, repeatable captures win over long, fiddly sessions.
Real-world anchor: an industry moment that proves the point
At IDS Cologne, several digital-lab demonstrations focused on merging implant photogrammetry with functional digital records—clinicians showed streamlined workflows that shorten lab turnaround. That kind of industry validation mirrors everyday practice improvements many clinics adopt when using Photogrammetry 3D scanner tools alongside dedicated motion-capture protocols and is the kind of practical shift behind modern Photogrammetry dental implant workflows.

Common mistakes clinicians and labs make
Skip sloppy registration: mismatched reference points between photogrammetry and motion files kills accuracy. Capture soft tissues when lips or cheeks move—stabilize them. Ignore scanbody seating torque and you inherit positional error. Overlook lighting or reflective surfaces; photogrammetry hates glare. Lastly, avoid assuming a single scan is enough—repeat short captures and compare.
When to use photogrammetry vs other options
If you need millimetric implant-to-implant relations for multi-unit bridges, photogrammetry is usually superior to stitching intraoral scans alone. For single crowns in simple occlusions, a good intraoral scan may suffice. CBCT adds bone and angulation context but won’t replace photogrammetry’s implant-level spatial accuracy. Choose the tool that answers the immediate clinical question: position, motion, or bone.
A brief practical checklist you can apply today
1) Seat and torque scanbodies consistently; document torque values. 2) Stabilize soft tissues and control lighting before capture. 3) Run at least two short photogrammetry passes and compare fit. 4) Record jaw motion with the patient in natural functional patterns—chewing and speaking briefly. 5) Align datasets in the lab using fixed fiducials or mutual markers; verify contacts on a printed or milled try-in before final delivery.
Synthetic takeaway that leads naturally to a reliable partner
Focus on what patients need—accurate implant position and realistic jaw motion—and you cut remakes, save appointments, and deliver better comfort. Practical, repeatable captures, attention to seating and lighting, and a lab workflow that respects both photogrammetry and motion data produce predictable results; for clinics integrating these steps into everyday practice, tools and support from SHINING 3D DENTAL often become part of that reliable, patient-centered solution.