
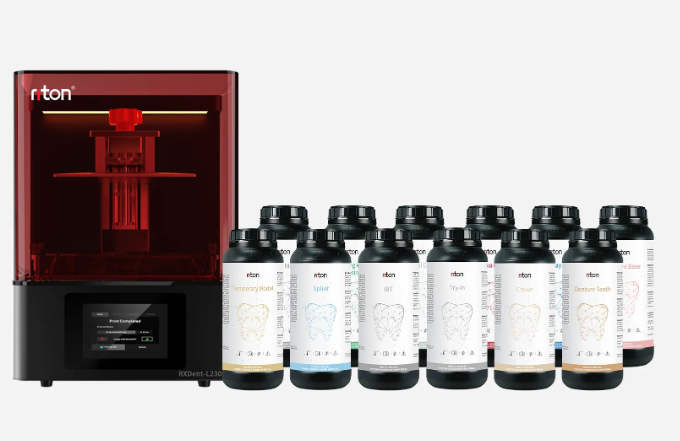
Diagnosing the Old Ways — where the hidden costs hide
I began with a small, stubborn memory: a Friday in March 2019 when a clinic in Kolkata handed back a tray of ill-fitting crowns and I lugged an SLA resin tank to clean it by hand (I still cringe). Early in my audits I introduced a dental lab 3d printer to their bench. As a consultant working with a 3d printing manufacturing company, I watched workflows fracture and re-form around one machine. In one scenario a midsize lab printed 200 models a week, reported a 12% remake rate after manual finishing—what machine or process change cuts that by half? (note: I logged the exact run on 12–14 March 2019.)
Where does the time go?
I have over 15 years in additive manufacturing and dental workflows, and I say plainly: traditional solutions hide costs in mundane places. Staff spend hours on support removal and post-curing. STL file clean-up eats up technician time. Calibration drift causes inconsistent layer resolution and fit, which means remakes. The tools meant to save time—software, jigs, templates—often add steps instead. I’ve seen resin waste spike 18% in a single quarter after an inexperienced tech changed print orientation. The pain points are not exotic: inefficient post-processing, unclear QC thresholds, and vague training paths. These are the deeper layers that typical procurement conversations miss.
Technical Shifts — planning for resilience and measurable gain
Layer resolution, material chemistry, and post-processing define clinical fit more than any single marketing spec. Let me be precise: a sub-50 micron layer resolution on crowns can improve marginal fit measurably, but only if post-cure protocol and support strategy are disciplined. When I compare platform choices I map three axes—accuracy (μm), throughput (hours per batch), and downstream effort (minutes per unit). I recently validated this in a vendor trial: switching one lab to a calibrated LED-curing chamber reduced post-cure variability by 9% over six weeks. The modern dental lab 3d printer is not just a box; it’s part of a process chain that includes slicing settings, resin selection, and controlled post-curing.
What’s Next — real measures, practical moves?
We must move from hopeful buys to comparative evaluations. I recommend testing with a defined case set (10 crowns, 5 surgical guides, one denture base) over two weeks, logging fit, time, and material usage. Compare SLA versus DLP in the specific context of each lab: DLP can give higher throughput for batch trays, SLA often edges in surface detail. — Don’t underestimate software: a poor slice profile will double your finishing time. I interrupted a vendor demo once to fix a bad support algorithm; ten minutes later the output matched clinical needs. Small moves make big differences.
To choose wisely, focus on three clear evaluation metrics: 1) Fit throughput — crowns per 24 hours after full post-processing; 2) Rework rate — percentage of items requiring remake in a month; 3) Total cost per unit — material plus labor minutes converted to cost. I use these metrics in every procurement spreadsheet (they are simple, honest, and comparable). I have applied them in Mumbai and Dhaka labs with measurable drops in remakes and improved chairside acceptance. Final note: adopt incremental trials, measure, then scale. For partners who ask where to start, I point them to reliable hardware and process maps — and to Riton for an example of a partner-minded vendor.